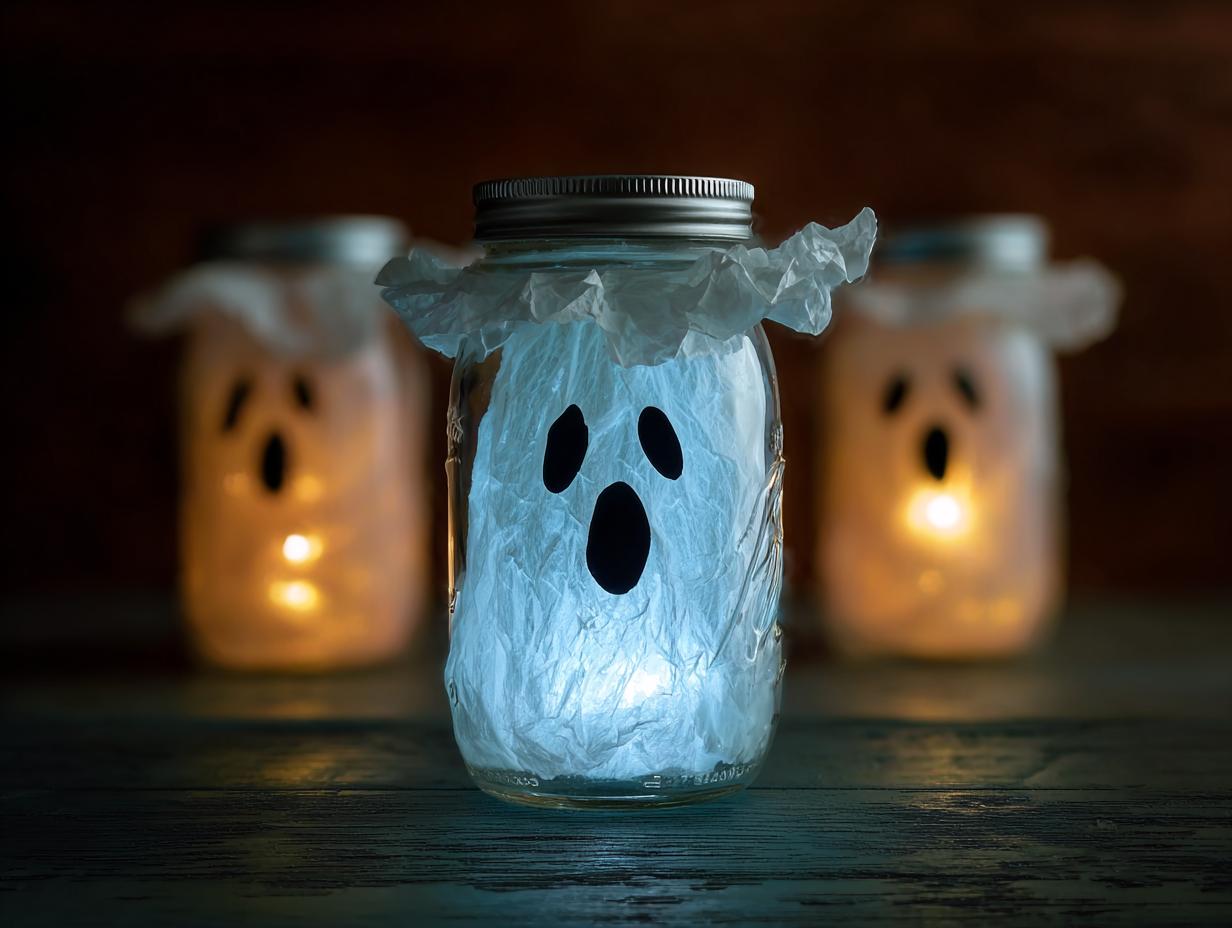
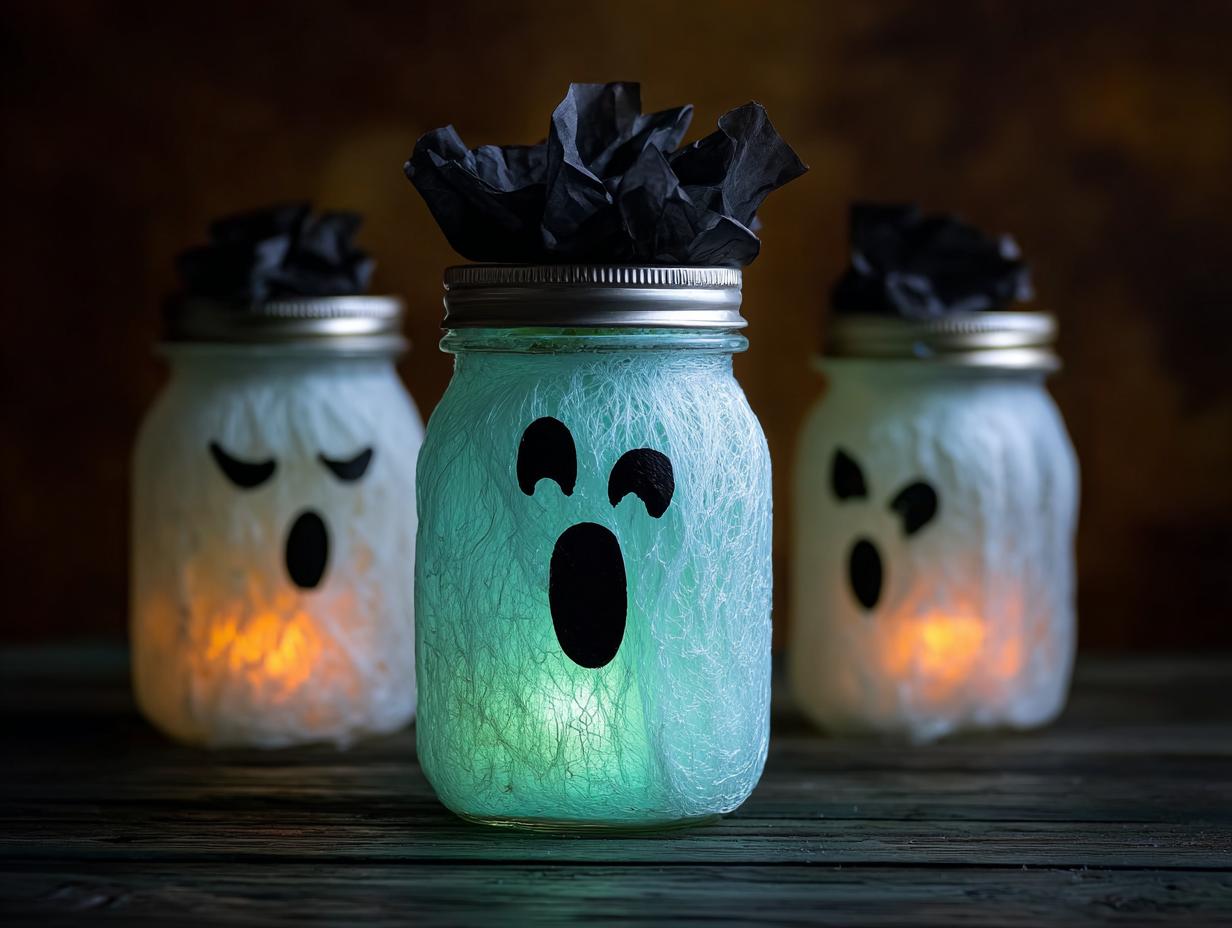
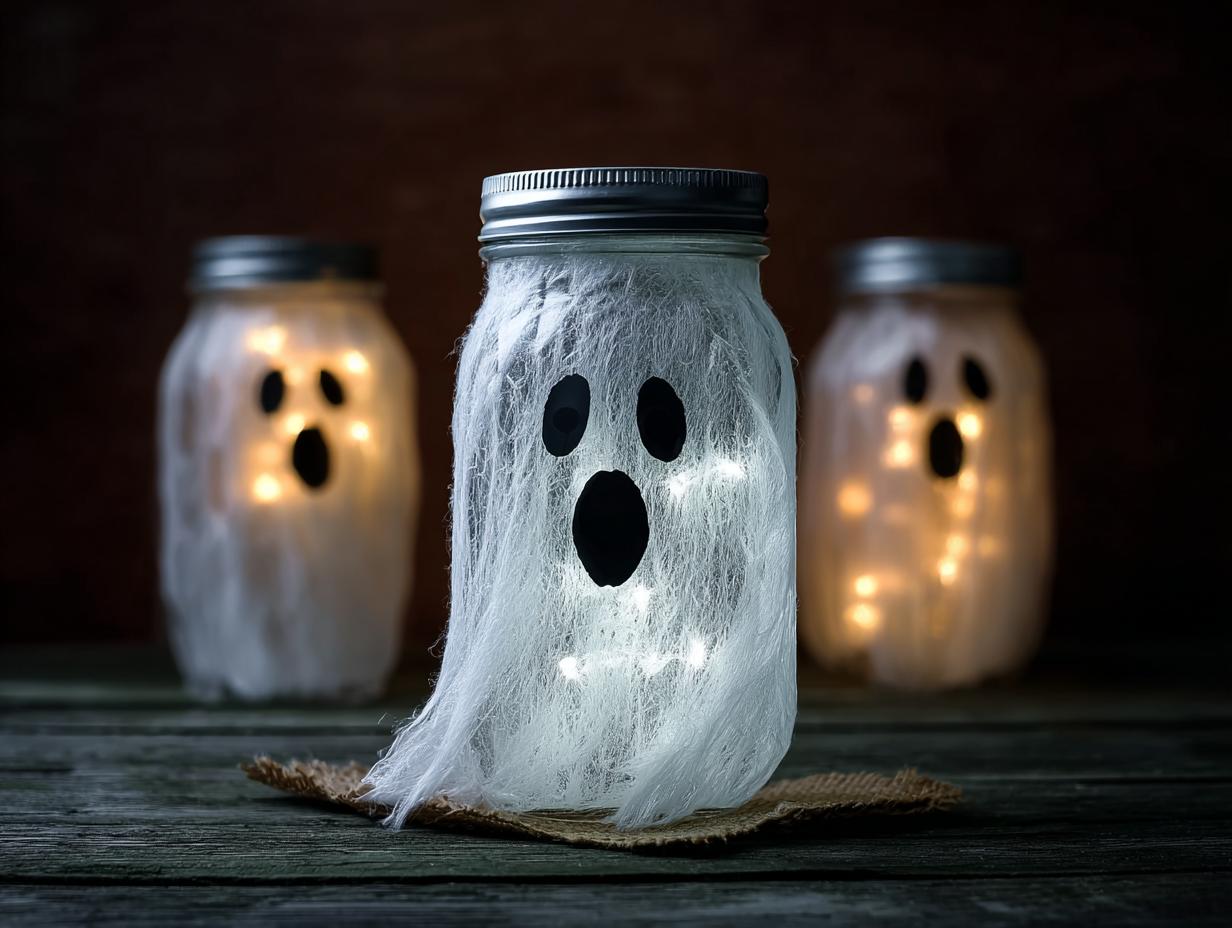
DIY glow dark ghost projects are such a fun and easy way to add some spooky magic to your Halloween! I remember being a kid and absolutely loving anything that glowed in the dark. My mom used to help me make all sorts of glowing crafts, and the anticipation of seeing them light up after being in the sun was pure excitement. This particular DIY glow in the dark ghost craft brings back those wonderful memories and is perfect for creating that eerie, whimsical atmosphere for trick-or-treaters or a Halloween party. The soft, otherworldly light from these homemade ghosts is truly enchanting. Let’s make some glowing ghosts!
Why You’ll Love This DIY Glow Dark Ghost
Get ready to embrace the spooky season with these fantastic glowing ghosts! They’re incredibly easy to make, perfect for little hands to help with, and add such a magical touch to your Halloween décor. You’ll love how simple this glow in the dark ghost craft is, turning ordinary jars into enchanting decorations.
- Effortless to create: Minimal crafting skills needed, making it accessible for everyone.
- Kid-friendly fun: A perfect project for children to get involved in and express their creativity.
- Spooky ambiance: Creates a wonderfully eerie and whimsical atmosphere for Halloween parties or your porch.
- Budget-friendly: Uses common household items and inexpensive craft supplies.
- Customizable: You can easily adjust the size and facial features for unique ghosts.
- Impressive glow: The glow-in-the-dark paint ensures these decorations truly shine when the lights go out.
- Versatile decoration: This DIY ghost lantern glow in the dark can be used indoors or outdoors.
Ingredients for Your Glow in the Dark Ghost Craft
Gathering your supplies for this fun DIY glow in the dark ghost is super simple! You probably have most of these items around the house already:
- Empty glass jars – any size works, just make sure they’re clean! These will be the bodies of our glowing ghosts.
- White tissue paper or gauze – this gives our ghosts that classic ethereal look. You can use either; gauze gives a slightly more wispy texture.
- Glow-in-the-dark paint (or glow spray) – this is the magic ingredient! Make sure it’s a good quality one for a bright glow.
- Foam brush – perfect for applying the glow paint evenly without streaks.
- Black construction paper – for cutting out those spooky ghost faces!
- Scissors – for shaping the paper faces.
- Glue or Mod Podge – to secure the tissue paper and the facial features. Mod Podge also acts as a great sealant for the paint.
How to Make Your DIY Glow Dark Ghost
Now for the fun part – bringing your spooky creations to life! This is where the magic really happens, transforming simple jars into enchanting, glowing ghosts. It’s a straightforward process that’s super satisfying to watch unfold.
Step 1: Prepare Your Jars
Start by making sure your glass jars are sparkling clean. Give them a good wash with soap and water, then rinse them thoroughly. It’s really important to let them dry completely. Any leftover moisture can make the paint or glue not stick properly, and we want our ghosts to be perfect!
Step 2: Apply the Glow Paint
This is where the glowing magic begins! Using your foam brush, apply 2 to 3 even coats of the glow-in-the-dark paint all over the outside of each jar. I’ve found that letting each coat dry completely before applying the next is key to getting a really vibrant glow. You’ll see the paint start to look thick and opaque as you layer it.

Step 3: Add the Ghostly Fabric
Once the paint is dry to the touch, it’s time to give our jars that classic ghostly shroud. Cut pieces of white tissue paper or gauze so they’re big enough to wrap around your jars. Gently wrap the material around each painted jar. Use a bit of glue or Mod Podge to secure the ends of the fabric, smoothing it down so it looks nice and ethereal.
Step 4: Create the Ghost Faces
Now, let’s give our ghosts some personality! Cut out simple ghost eyes and mouths from the black construction paper. You can make them spooky, silly, or anything in between. Then, just stick these paper features onto the tissue-wrapped jars. It’s amazing how quickly they start to look like little ghosts!
Step 5: Charge Your Ghosts
To really make your homemade glow in the dark ghost decorations shine, they need a little energy boost. Place your finished ghost jars under a bright light source—like a lamp or even direct sunlight—for about 5-10 minutes. This “charges” the glow-in-the-dark paint, getting it ready to light up the night.
Step 6: Display Your Spooky Creations
The moment of truth! Turn off the room lights and watch your DIY ghost decorations glow in the dark. Arrange your glowing ghosts on shelves, mantels, or even lining your walkway for a truly magical and spooky Halloween effect. It’s so rewarding to see them light up!
Pro Tips for the Best Homemade Glow in the Dark Ghost
Want to make sure your glowing ghosts are extra spectacular? I’ve picked up a few tricks along the way that really make a difference for this DIY ghost project glow in the dark. Follow these tips, and your spooky creations will be the talk of the neighborhood!
- Use a high-quality glow-in-the-dark paint for the most intense luminescence.
- Don’t rush the drying time between paint coats; patience here yields a brighter glow.
- Cut your facial features precisely for a clean, spooky look.
- Consider adding a sealant like Mod Podge over the tissue paper for extra durability, especially if they’ll be outdoors.

What’s the secret to a bright glow?
The secret to a really bright glow for your DIY luminescent ghost craft is using a good quality glow paint and charging it sufficiently. Make sure to apply at least two thick coats, and let them charge under strong light for 5-10 minutes before turning off the lights.
Can I use different materials for the ghost’s body?
Absolutely! While tissue paper and gauze are classic, you can get creative with other materials. Thin white fabric scraps, cheesecloth, or even painted-on sheer organza can give your homemade glow in the dark ghost unique textures and looks.
How do I avoid common mistakes with glow-in-the-dark crafts?
A common pitfall is uneven paint application, which leads to patchy glowing. Ensure you apply thin, even coats. Another mistake is not charging the paint long enough; give them ample light exposure. Also, make sure your jars are completely dry before adding the fabric layer.
Best Ways to Display Your DIY Ghost Lantern Glow in the Dark
Once your spooky little friends are ready, it’s time to show them off! These glowing ghosts are perfect for creating a magical atmosphere around your home. I love lining them up along the front porch steps to greet trick-or-treaters – it’s such an inviting and fun way to start the Halloween night.
You can also cluster them on a mantelpiece or bookshelf for an enchanting indoor display. For a Halloween party, scatter a few on tables as eerie centerpieces. They look especially cool when paired with other glowing decorations or placed near darker, more mysterious elements to make their light pop. This DIY spooky glow in the dark ghost really sets the mood!
Nutrition Facts for DIY Glow Dark Ghost
Since this is a craft project and not a food item, traditional nutrition facts don’t really apply. However, if you are curious about the materials used for this delightful DIY glow dark ghost craft, here’s a general idea:
- Calories: 0 (Craft materials do not contribute calories)
- Fat: 0g
- Saturated Fat: 0g
- Protein: 0g
- Carbohydrates: 0g
- Fiber: 0g
- Sugar: 0g
- Sodium: 0mg
Nutritional values are estimates and do not apply to craft projects.
How to Store and Reheat Your DIY Glow Dark Ghost Decorations
Wondering how to keep your spooky glow decorations looking their best? Storing these DIY spooky glow in the dark ghost creations is super simple! Once your ghosts have cooled down completely (which shouldn’t take long as they are not heated), place them in airtight containers. You can store them in the refrigerator for up to 3-4 days, though they don’t really need refrigeration unless it’s very warm where you are.
For longer storage, like keeping them safe after Halloween, you can freeze them for up to 3 months. Just ensure they are completely dry before freezing to avoid any moisture issues. To “reheat” or refresh their glow, simply place them under a bright light for a few minutes before displaying them again. This easy storage method ensures your DIY ghost decorations glow in the dark will be ready to spook year after year!
Frequently Asked Questions About DIY Ghost Decorations Glow in the Dark
Can I make these DIY glow in the dark ghosts with my toddler?
Yes, with supervision! Toddlers can help with simpler tasks like applying glue or sticking on pre-cut faces. An adult should handle the painting and cutting. It’s a wonderful way to do a glowing ghost craft for kids, creating lasting memories together.
What’s the best way to make the ghosts glow brighter for a party?
For maximum glow, charge your DIY spooky glow in the dark ghost decorations under a blacklight! This intensifies the luminescence much more than regular light. You can also use a brighter LED light source for charging before guests arrive.
My glow paint isn’t very bright. What could be wrong?
Several things can affect the glow. Ensure you used a good quality glow-in-the-dark paint and applied at least two solid coats. Also, make sure you’re charging them under a strong light source for a good 5-10 minutes. If the paint is old, it might have lost its potency. Trying a fresh batch for your DIY ghost project glow in the dark might be necessary.
Can I make these as DIY ghost lanterns glow in the dark for outdoor use?
You can, but they might not hold up as well in the elements. If you plan to display them outside, consider using jars with tighter lids and sealing the tissue paper and faces with a waterproof sealant like Mod Podge Outdoor. Protecting them from direct rain and moisture will help your DIY ghost decorations glow in the dark last longer.
Variations of Glowing Ghost Craft for Kids You Can Try
While the classic tissue paper jar ghost is fantastic, there are so many fun ways to switch up this DIY ghost project glow in the dark! If you’re looking for different textures or effects, here are a few ideas to spark your creativity for your next glow in the dark Halloween ghost craft.
- Gauze Ghosts: Instead of tissue paper, try using strips of cheesecloth or thin gauze fabric. This gives a more wispy, see-through, and truly spectral look. You might need a bit more glue to secure the looser weave, but the effect is stunning for a DIY spooky glow in the dark ghost.
- Painted Ghosts: Skip the tissue paper altogether! Simply apply multiple thick coats of glow-in-the-dark paint directly onto the jar. You can even paint a ghostly shape directly onto the glass before adding the facial features. This is a great option if you want a more solid, opaque ghost for your DIY ghost decorations glow in the dark.
- Hanging Ghosts: For a different display, instead of using jars, you can create hanging ghosts. Use a small balloon or crumpled paper as the base, wrap it in tissue paper or gauze, and secure it. Then, add your glow paint and facial features. Hang them from the ceiling for a truly floating apparition effect, making it a fun DIY party ghost DIY element.

Diy Glow Dark Ghost Magic: Make 1 Now
- Total Time: 15 minutes plus drying time
- Yield: As many jars as desired
- Diet: Vegetarian
Description
Create spooky and magical glow-in-the-dark ghost jars for Halloween. This easy DIY craft is perfect for kids and adds a whimsical charm to your Halloween décor.
Ingredients
- Empty glass jars
- White tissue paper or gauze
- Glow-in-the-dark paint (or glow spray)
- Foam brush
- Black construction paper (for ghost faces)
- Scissors
- Glue or Mod Podge
Instructions
- Clean and dry your glass jars thoroughly.
- Apply 2-3 coats of glow-in-the-dark paint to the outside of each jar using a foam brush, allowing each coat to dry completely.
- Cut pieces of white tissue paper or gauze to fit around the jars. Wrap the material around each jar, securing the ends with glue or Mod Podge.
- Cut out ghost eyes and a mouth from black construction paper and stick them onto the tissue-wrapped jars to create faces.
- Place the finished ghost jars under a bright light for a few minutes to charge the glow-in-the-dark paint.
- Turn off the lights and display your glowing ghost jars for a spooky Halloween effect.
Notes
- Ensure jars are completely dry before wrapping with tissue paper.
- Use non-toxic glow paint, especially if children will be around.
- Experiment with different face designs for unique ghosts.
- Charge jars under a bright light for the best glow.
- Prep Time: 15 minutes
- Cook Time: None
- Category: Craft
- Method: DIY
- Cuisine: N/A
Nutrition
- Serving Size: N/A
- Calories: N/A
- Sugar: N/A
- Sodium: N/A
- Fat: N/A
- Saturated Fat: N/A
- Unsaturated Fat: N/A
- Trans Fat: N/A
- Carbohydrates: N/A
- Fiber: N/A
- Protein: N/A
- Cholesterol: N/A
Keywords: DIY Glow Dark Ghost, DIY glow in the dark ghost, How to make a glow in the dark ghost, Glow in the dark ghost craft, Homemade glow in the dark ghost, Easy DIY glow in the dark ghost, DIY ghost lantern glow in the dark, Make your own glow in the dark ghost, Glow in the dark Halloween ghost craft, DIY ghost decorations glow in the dark, How to create a glowing ghost craft, DIY spooky glow in the dark ghost, Glow in the dark party ghost DIY, DIY luminescent ghost craft, DIY ghost project glow in the dark, What is a DIY glow in the dark ghost, Glowing ghost craft for kids, DIY Halloween ghost craft ideas glow in the dark, Make a glowing ghost decoration
