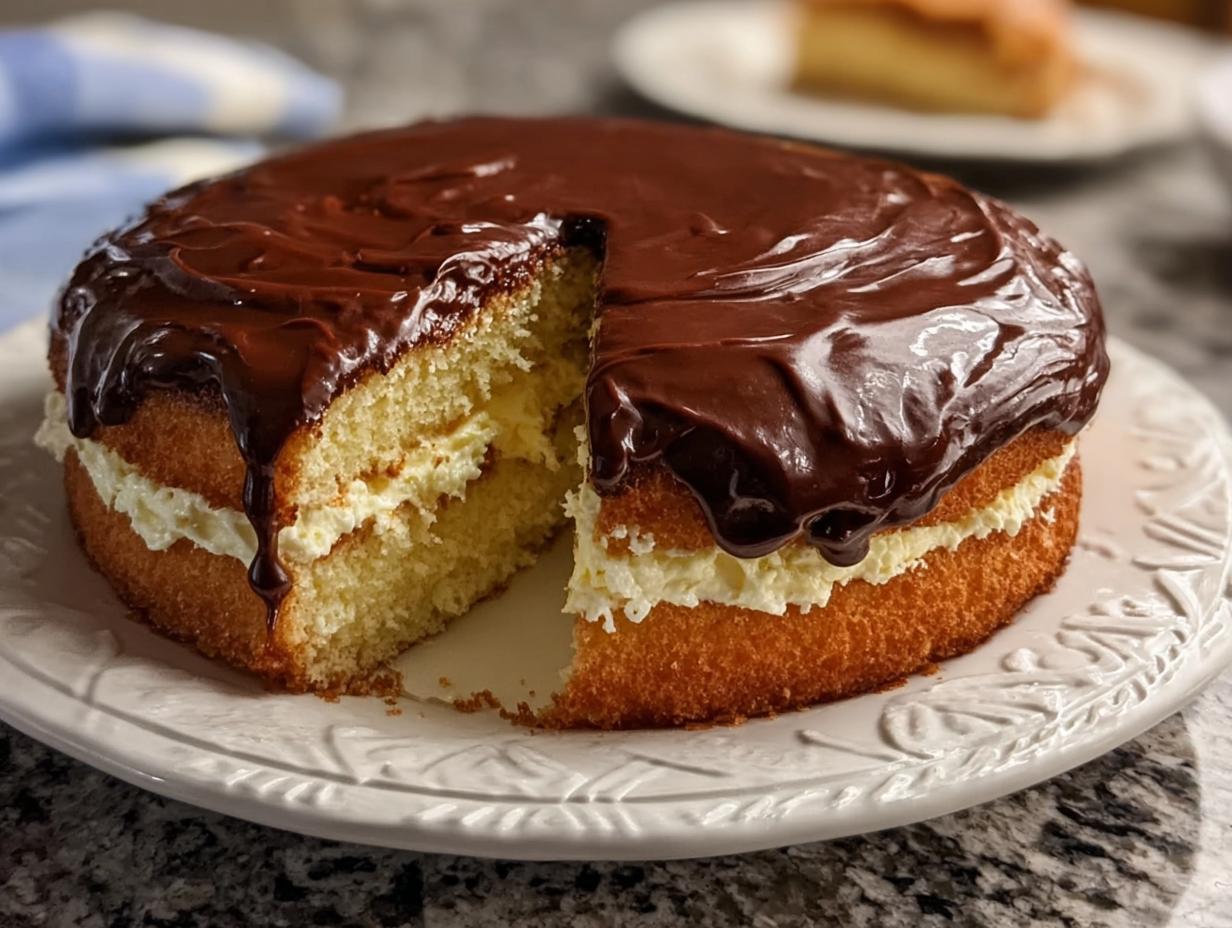
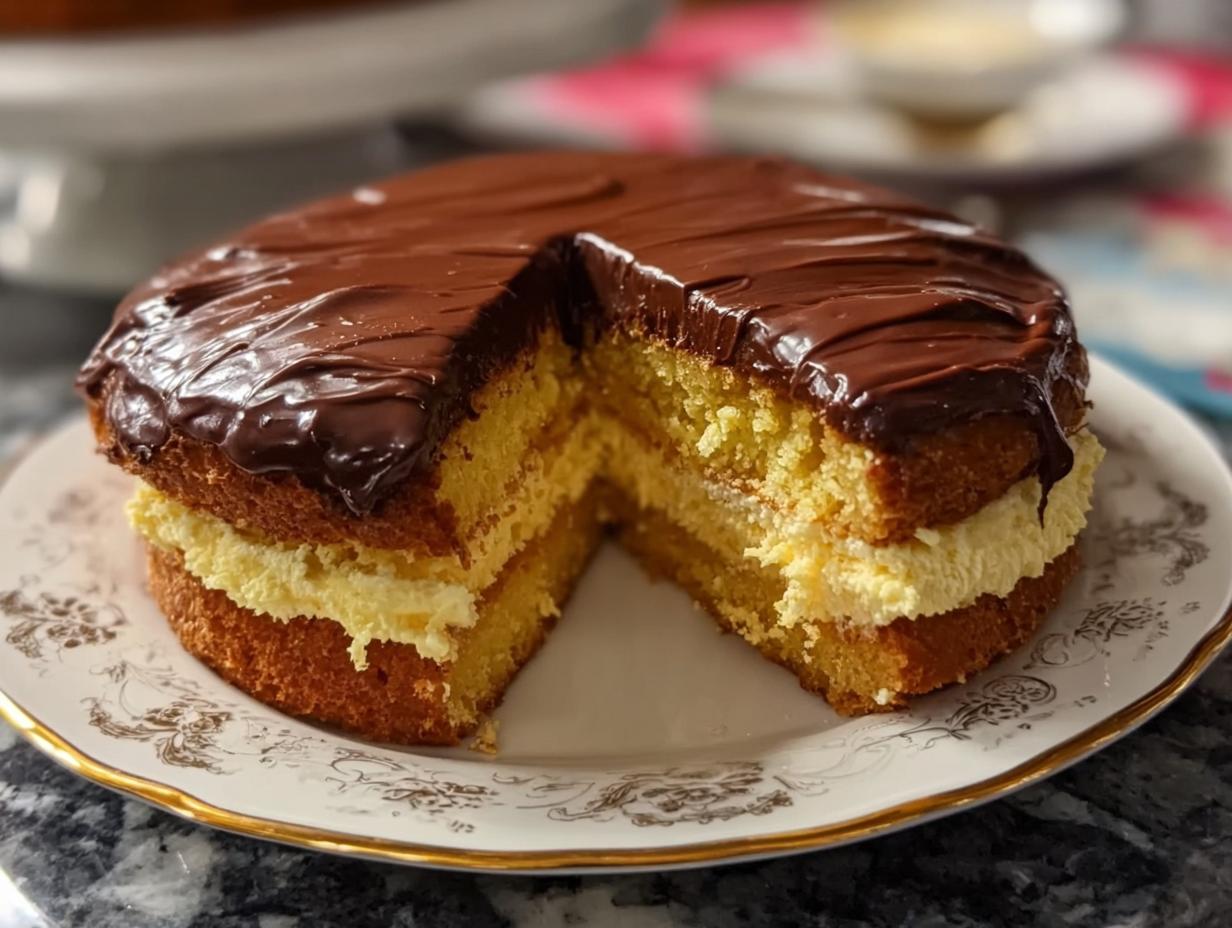
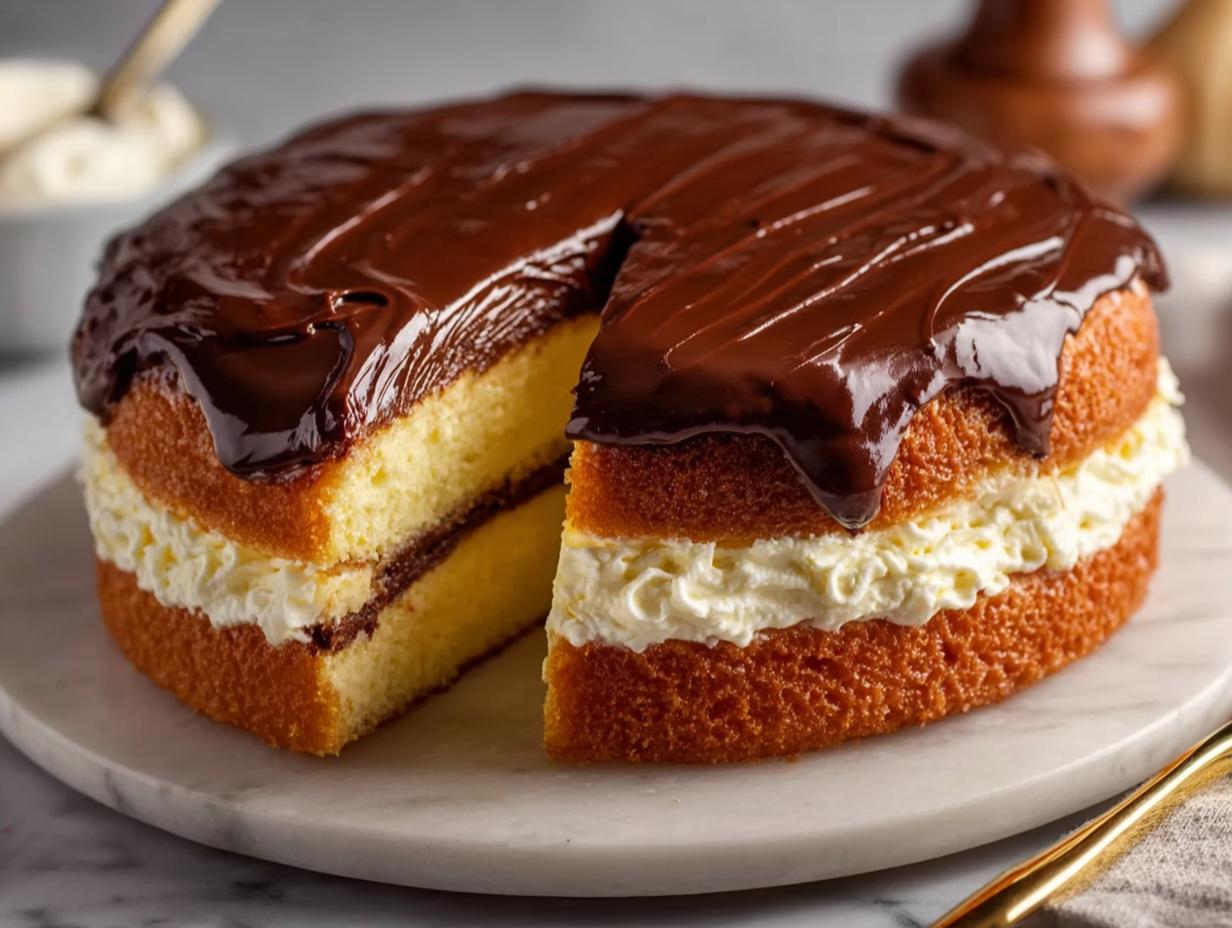
Boston Cream Pie has been a beloved American dessert for generations, and for good reason! It’s a whimsical creation that defies its name; it’s actually a tender, golden cake. My first encounter with this dessert was at my grandmother’s house for a special birthday. The aroma of vanilla and rich chocolate filled her kitchen, and seeing that elegant cake, perfectly glazed and impossibly tall, made my eyes widen. It’s a truly decadent experience, with luscious pastry cream nestled between two delicate cake layers and finished with a glossy chocolate ganache. If you’ve ever wondered, “What is Boston Cream Pie?”, it’s a delightful marriage of cake, custard, and chocolate that’s pure bliss. Ready to create this masterpiece yourself? Let’s get baking!
If you’re looking for a dessert that’s both impressive and surprisingly manageable, this is it! You’ll adore this recipe because it’s an **easy Boston Cream Pie** that tastes like it came straight from a fancy bakery.
- It delivers that classic, comforting vanilla custard and chocolate flavor everyone loves.
- The cake layers are incredibly moist and tender.
- You get that delightful contrast of textures – soft cake, creamy filling, and smooth glaze.
- It’s a showstopper that’s perfect for birthdays, holidays, or just because.
- Making a homemade Boston Cream Pie is incredibly rewarding and tastes so much better than store-bought.
- The instructions are clear, making the entire process straightforward.
- It’s a truly satisfying Boston cream pie dessert experience.
Ingredients for Boston Cream Pie
Gathering the right Boston cream pie ingredients is the first delicious step to creating this classic dessert. You’ll need components for the cake, the creamy filling, and the decadent chocolate glaze.
- 1 cup granulated sugar – for sweetness in the cake batter.
- 4 large eggs – room temperature eggs incorporate better into the batter.
- 1 cup all-purpose flour – the base for our tender cake layers.
- 1 teaspoon baking powder – provides lift for a light texture.
- ¼ teaspoon salt – enhances all the other flavors.
- ½ cup whole milk – adds moisture to the cake.
- 4 tablespoons unsalted butter – melted and adds richness to the cake.
- 1 teaspoon vanilla extract – for that essential warm, sweet aroma and flavor.
- 2 cups whole milk – for the luscious pastry cream filling.
- ½ cup granulated sugar – sweetens the pastry cream.
- 4 large egg yolks – these create the rich, creamy texture of the custard.
- ¼ cup cornstarch – thickens the pastry cream to the perfect consistency.
- 2 tablespoons unsalted butter – stirred in at the end for a silky finish to the filling.
- 1½ teaspoons vanilla extract – a generous amount for the wonderful Boston cream pie filling recipe.
- Pinch of salt – balances the sweetness.
- ½ cup heavy cream – the base for our rich chocolate glaze.
- 4 ounces semi-sweet chocolate, chopped – for that beautiful, glossy topping.
- 1 tablespoon unsalted butter – adds shine and smoothness to the glaze.
- ½ teaspoon vanilla extract – a little extra flavor for the glaze.
How to Make Boston Cream Pie
Follow these steps to create your own beautiful Boston Cream Pie. This guide makes how to make Boston Cream Pie feel like a breeze, resulting in a truly spectacular dessert.
- Step 1: Prepare the Cake Layers. Preheat your oven to 350°F (175°C). Generously grease and flour two 9-inch round cake pans. In a large bowl, beat the 4 large eggs with 1 cup of granulated sugar until the mixture is light, fluffy, and pale yellow. In a separate bowl, sift together 1 cup of all-purpose flour, 1 teaspoon of baking powder, and ¼ teaspoon of salt. In a small saucepan, gently heat ½ cup of whole milk with 4 tablespoons of unsalted butter until the butter is just melted; stir in 1 teaspoon of vanilla extract. Gradually add the dry ingredients to the egg mixture, alternating with the warm milk mixture, mixing until just combined. Be careful not to overmix. Divide the batter evenly between the prepared pans. Bake for 20-25 minutes, or until a toothpick inserted into the center of each cake comes out clean. Let the cakes cool in their pans for about 10 minutes before carefully inverting them onto wire racks to cool completely.
- Step 2: Craft the Pastry Cream Filling. While the cakes cool, let’s make the luscious custard. Heat 2 cups of whole milk in a saucepan over medium heat until it just begins to simmer – watch for small bubbles around the edges. In a separate bowl, whisk together 4 large egg yolks, ½ cup of granulated sugar, ¼ cup of cornstarch, and a pinch of salt until the mixture is smooth and pale. Slowly and carefully ladle about half of the hot milk into the egg yolk mixture, whisking constantly to temper the eggs; this prevents them from scrambling. Pour the tempered egg mixture back into the saucepan with the remaining milk. Cook over medium heat, whisking constantly and vigorously, until the pastry cream thickens considerably, usually about 5 minutes. It should be thick enough to coat the back of a spoon. Remove the saucepan from the heat and stir in 2 tablespoons of unsalted butter and 1½ teaspoons of vanilla extract until the butter is melted and fully incorporated, giving the filling a beautiful sheen. To prevent a skin from forming, press a piece of plastic wrap directly onto the surface of the pastry cream. Refrigerate until thoroughly chilled.

- Step 3: Whip up the Chocolate Glaze. For the final component of this delightful Boston cream pie recipe, we’ll make the chocolate glaze. Heat ½ cup of heavy cream in a small saucepan until it just begins to boil. Pour the hot cream over 4 ounces of chopped semi-sweet chocolate in a heatproof bowl. Let it sit undisturbed for about 1 minute to allow the chocolate to soften. Then, whisk the mixture gently until it’s completely smooth and glossy. Stir in 1 tablespoon of unsalted butter and ½ teaspoon of vanilla extract until the butter is melted and the glaze is beautifully smooth. Let the glaze cool slightly at room temperature until it has thickened enough to pour over the cake without running off too quickly, but is still pourable.
- Step 4: Assemble Your Masterpiece. Once all components are cooled and the pastry cream is chilled, it’s time for assembly! Place one of the cooled cake layers on your serving plate or cake stand. Gently spread the chilled pastry cream evenly over the top of this cake layer, reaching almost to the edges. Carefully place the second cake layer on top of the pastry cream. Pour the slightly cooled chocolate glaze over the top of the cake, allowing it to cascade naturally down the sides. This finishing touch is what truly makes this Boston cream pie recipe shine. Refrigerate the assembled pie for at least 1 hour to allow the glaze to set and the flavors to meld before slicing and serving.
Pro Tips for the Best Boston Cream Pie
Achieving that perfect bakery-quality Boston Cream Pie at home is totally doable with a few tricks up your sleeve. These tips will elevate your homemade creation from good to absolutely unforgettable.
- Always let your cake layers cool completely before assembling. A warm cake can melt the pastry cream and make assembly messy.
- For the smoothest pastry cream, whisk constantly and temper your eggs carefully to avoid scrambling.
- Don’t rush the chilling process! Allowing the assembled pie to chill for at least an hour lets the flavors meld and the glaze set beautifully.
- If you’re aiming for an authentic Boston Cream Pie, don’t skimp on the quality of your chocolate for the glaze; a good semi-sweet chocolate makes a world of difference. For more baking tips, check out expert advice.
What’s the secret to a perfect Boston Cream Pie?
The secret lies in perfectly balanced components: a light, airy cake, a silky smooth pastry cream filling that isn’t too sweet, and a rich, glossy chocolate glaze that sets just right. It’s all about texture and temperature harmony.
Can I make Boston Cream Pie ahead of time?
Yes, absolutely! This Boston cream pie dessert is actually better when made a day in advance. Assemble the entire pie and refrigerate it overnight. This allows the flavors to meld beautifully and the cake to absorb some of the moisture from the filling, making it incredibly tender. For more information on food preparation and safety, you can consult guidelines.
How do I avoid common mistakes with Boston Cream Pie?
A common pitfall is overmixing the cake batter, which leads to a tough texture. For a classic Boston Cream Pie, mix just until combined. Another mistake is not letting the pastry cream chill completely, causing it to ooze out. Ensure it’s cold and firm before spreading.
Best Ways to Serve Boston Cream Pie
Serving this stunning Boston cream pie cake is an event in itself! Since it’s so rich and decadent, a little goes a long way. I love to serve it simply on its own, allowing the layers of cake, cream, and chocolate to shine.
For a truly special occasion, consider pairing a slice with a dollop of fresh whipped cream or a small scoop of vanilla bean ice cream. The contrast in temperatures and textures is divine. A light, fruity side like fresh berries can also offer a refreshing counterpoint to the richness of the Boston cream pie dessert. Whichever way you choose, this classic treat is sure to impress!

Nutrition Facts for Boston Cream Pie
This Boston cream pie dessert is a decadent treat, and understanding its nutritional profile helps in enjoying it mindfully. Here are the estimated nutritional values per serving (this recipe yields approximately 8-10 servings):
- Calories: 370
- Fat: 21g
- Saturated Fat: 13g
- Protein: 6g
- Carbohydrates: 39g
- Fiber: 1g
- Sugar: 27g
- Sodium: 150mg
Nutritional values are estimates and may vary based on specific ingredients used and serving size. Enjoy this classic treat responsibly! For more information on dietary needs, please see our privacy policy.
How to Store and Reheat Boston Cream Pie
Properly storing your beautiful Boston Cream Pie ensures it stays fresh and delicious for your next indulgence. Since this dessert has a creamy custard filling, refrigeration is key. After your masterpiece has cooled and the glaze has set, carefully transfer it to an airtight container. If you don’t have a container large enough, plastic wrap can work, but ensure it’s sealed tightly to prevent drying out. This homemade Boston Cream Pie will keep well in the refrigerator for about 3 to 4 days. You can find more information about food storage on our contact page.
Freezing this delicate dessert is also an option for longer storage, though it’s best enjoyed fresh. If you decide to freeze it, wrap individual slices thoroughly in plastic wrap, then in aluminum foil. Properly wrapped, your Boston Cream Pie dessert can be frozen for up to 3 months. To enjoy a frozen slice, thaw it overnight in the refrigerator before serving. Reheating isn’t typically necessary for this dessert, as it’s meant to be served chilled.
Frequently Asked Questions About Boston Cream Pie
Is Boston Cream Pie a cake?
Yes, absolutely! Despite its name, Boston Cream Pie is definitely a cake. It features two layers of tender yellow cake filled with creamy vanilla pastry cream and topped with a rich chocolate glaze. The confusion likely stems from its historical context when cakes were sometimes baked in pie pans and called pies.
Why is it called Boston Cream Pie?
The name “Boston Cream Pie” comes from its origin story. It was invented in the 1850s at Boston’s Parker House hotel and was originally served in pie tins, hence the name “pie.” Over time, the dessert evolved into the layered cake we know and love today, but the classic name stuck. It’s a piece of culinary history!
Can I use store-bought cake or filling for my Boston Cream Pie?
While using shortcuts can save time, making this classic Boston Cream Pie from scratch truly elevates the experience. Store-bought components might not provide the same freshness or texture. However, if you’re in a pinch, a good quality yellow cake mix and pre-made pastry cream can work in a pinch for an easy Boston Cream Pie, though the homemade version is always superior.
What happens if my pastry cream is too thin?
If your pastry cream filling is a bit too thin, don’t panic! You can often fix it by cooking it a little longer over low heat, whisking constantly, to allow more moisture to evaporate. Alternatively, you can gently whisk in a tablespoon of cornstarch slurry (cornstarch mixed with a little cold milk) and cook for another minute or two until thickened. This ensures your custard filled Boston Cream Pie holds its shape beautifully.
Variations of Boston Cream Pie You Can Try
While the classic recipe is divine, there are so many fun ways to put your own spin on this beloved dessert! Exploring different variations can cater to various tastes and dietary needs, making this treat accessible to everyone. Here are a few ideas to get your creative juices flowing for your next Boston cream pie dessert.
- Dietary Adaptations: For a gluten-free version, simply substitute a good quality gluten-free all-purpose flour blend for the regular flour in the cake layers. You can also experiment with dairy-free milk and butter alternatives in both the cake and pastry cream for a lactose-free treat.
- Flavor Twists: Amp up the chocolate flavor by using a chocolate cake mix or adding cocoa powder to the batter, creating a decadent chocolate Boston Cream Pie. For the filling, consider adding a touch of espresso powder to the pastry cream or a hint of raspberry liqueur for a fruity kick.
- Glaze Options: While the traditional chocolate glazed Boston Cream Pie is a winner, don’t be afraid to experiment! A caramel glaze or a cream cheese frosting can offer a different flavor profile. For a richer topping, try a ganache made with dark chocolate and a splash of bourbon.
- Miniatures and Cupcakes: For easier serving and portion control, try making mini Boston Cream Pies in muffin tins or even Boston Cream Pie cupcakes. Bake the cake layers in cupcake liners and pipe the pastry cream and glaze on top. This is a fantastic way to create individual portions of a custard filled Boston Cream Pie.

Amazing Boston Cream Pie: 1 Perfect Recipe
- Total Time: 1 hour 10 minutes plus chilling time
- Yield: 1 9-inch cake (8-10 servings) 1x
- Diet: Vegetarian
Description
A classic American dessert, Boston Cream Pie is a delightful cake featuring two tender yellow cake layers filled with creamy vanilla custard and topped with a rich chocolate glaze. Despite its name, it’s a cake, not a pie, originating from Boston in the mid-1800s.
Ingredients
- For the Cake:
- 1 cup granulated sugar
- 4 large eggs
- 1 cup all-purpose flour
- 1 teaspoon baking powder
- ¼ teaspoon salt
- ½ cup whole milk
- 4 tablespoons unsalted butter
- 1 teaspoon vanilla extract
- For the Pastry Cream Filling:
- 2 cups whole milk
- ½ cup granulated sugar
- 4 large egg yolks
- ¼ cup cornstarch
- 2 tablespoons unsalted butter
- 1½ teaspoons vanilla extract
- Pinch of salt
- For the Chocolate Glaze:
- ½ cup heavy cream
- 4 ounces semi-sweet chocolate, chopped
- 1 tablespoon unsalted butter
- ½ teaspoon vanilla extract
Instructions
- Make the Cake: Preheat oven to 350°F (175°C). Grease and flour two 9-inch round cake pans. Beat eggs and sugar until light and fluffy. Sift flour, baking powder, and salt in a separate bowl. Heat milk and butter until butter melts; stir in vanilla. Gradually add dry ingredients to egg mixture, then slowly incorporate warm milk mixture. Divide batter evenly between pans. Bake for 20-25 minutes, or until a toothpick comes out clean. Cool in pans for 10 minutes, then transfer to wire racks to cool completely.
- Prepare the Pastry Cream: Heat milk until it simmers. Whisk egg yolks, sugar, cornstarch, and salt until smooth. Slowly add hot milk, whisking constantly to temper eggs. Return mixture to saucepan and cook over medium heat, whisking constantly, until thickened (about 5 minutes). Remove from heat; stir in butter and vanilla. Press plastic wrap onto the surface and refrigerate until cold.
- Make the Chocolate Glaze: Heat cream until it begins to boil. Pour over chopped chocolate in a heatproof bowl. Let sit for 1 minute, then whisk until smooth. Stir in butter and vanilla. Let cool slightly until thickened enough to pour but not run off.
- Assemble the Boston Cream Pie: Place one cake layer on a serving plate. Spread cooled pastry cream evenly on top. Carefully place the second cake layer over the cream. Pour chocolate glaze over the top, allowing it to drip down the sides. Refrigerate for at least 1 hour before slicing.
Notes
- Let each component cool completely before assembling.
- Use dark chocolate in the glaze for a deeper flavor.
- A serrated knife helps slice through the layers cleanly.
- Store leftovers tightly covered in the refrigerator for up to 3 days.
- Making this Boston Cream Pie recipe the night before is recommended for best results.
- Prep Time: 40 minutes
- Cook Time: 30 minutes
- Category: Dessert
- Method: Baking
- Cuisine: American
Nutrition
- Serving Size: 1 slice (approx.)
- Calories: 370
- Sugar: 27g
- Fat: 21g
- Carbohydrates: 39g
- Fiber: 1g
- Protein: 6g
Keywords: Boston Cream Pie, Boston cream pie recipe, Authentic Boston Cream Pie, What is Boston Cream Pie, How to make Boston Cream Pie, Boston Cream Pie history, Best Boston Cream Pie recipe, Easy Boston Cream Pie, Homemade Boston Cream Pie, Classic Boston Cream Pie, Boston Cream Pie dessert, Boston Cream Pie cake, Chocolate glazed Boston Cream Pie, Custard filled Boston Cream Pie, Original Boston Cream Pie recipe, Boston Cream Pie ingredients, Where to buy Boston Cream Pie, Boston Cream Pie vs chocolate cake, Is Boston Cream Pie a cake, Why is it called Boston Cream Pie, Boston Cream Pie filling recipe
