DIY hanging paper cup ghosts have become my absolute favorite way to add a little spooktacular fun to our home each October. I remember one year, my little one wanted to decorate for Halloween, and we didn’t have much. We grabbed some old paper cups and some scraps, and by the end of the afternoon, our living room was filled with these adorably eerie floating figures. The best part is how incredibly simple these DIY paper cup crafts are; you can whip up a whole troop of them in no time, and the way they drift and sway in the breeze is just magical. Let’s get crafting!
Why You’ll Love This DIY Hanging Paper Cup Project
You’re going to adore making these charming ghosts. They’re not just decorations; they’re little bits of handmade Halloween magic!
- Incredibly Easy: Seriously, these are some of the simplest DIY paper cup crafts you’ll find.
- Kid-Friendly Fun: Perfect for little hands to help create spooky decorations.
- Budget-Friendly: Uses common household items, making it an affordable way to decorate.
- Fast Results: You can whip up several in just a few minutes, perfect for last-minute decorating.
- Versatile Decor: These Paper cup hanging decorations DIY look fantastic anywhere – from windows to doorways.
- Spooky Charm: They add a wonderfully eerie yet cute touch to your Halloween ambiance.
- Customizable: Easily change the faces and streamers to make each ghost unique.
- Rewarding Craft: There’s a special satisfaction in creating your own festive Paper cup hanging decorations DIY.
Materials for Your DIY Hanging Paper Cup Ghosts
Gathering your supplies is the first fun step in this project! Here’s what you’ll need to make these charming decorations:
- 8-10 white paper cups – These form the base of our little ghosts. Standard 8-10 ounce cups work perfectly.
- Black marker or black construction paper – To draw or cut out spooky, funny, or cute faces for your ghosts.
- White tissue paper or white crepe paper streamers – About 2-3 sheets of tissue paper or a 10-foot roll of streamers. This will create the wispy, flowing body of the ghost.
- String or yarn – Approximately 2 feet per ghost for hanging. White or clear string works best to make them look like they’re floating.
- Glue (white craft glue or a glue stick) – To attach the faces and the tissue paper streamers.
This list covers everything you need for a successful DIY paper cup crafts session. Learning how to make hanging paper cups is simple when you have the right materials ready to go!
Step-by-Step Guide to Making Hanging Paper Cup Ghosts
Let’s get these spooky little guys ready to haunt your home! This process is so straightforward, you’ll be amazed at how quickly you can transform simple paper cups into charming Halloween decorations. These easy DIY paper cup projects are perfect for a quick craft session.
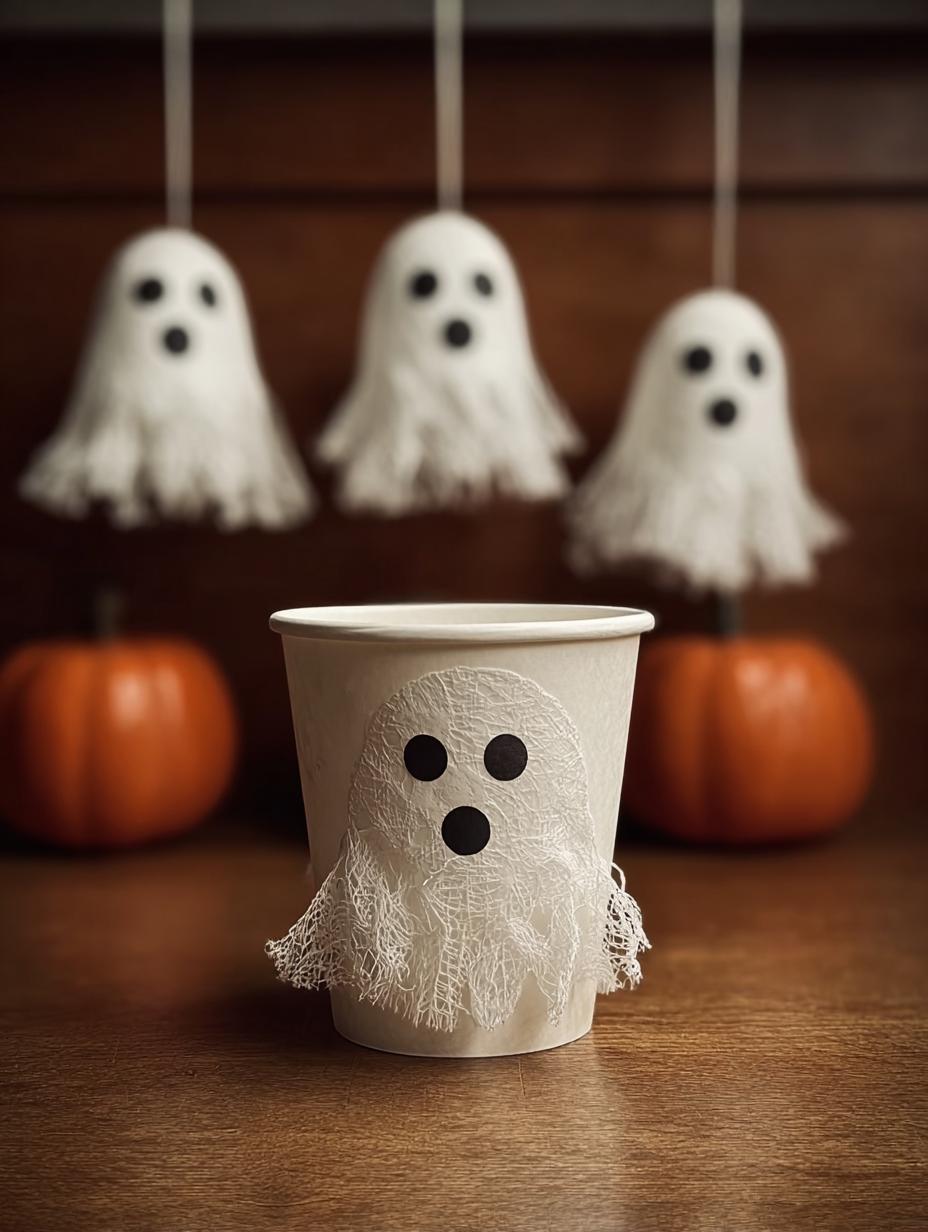
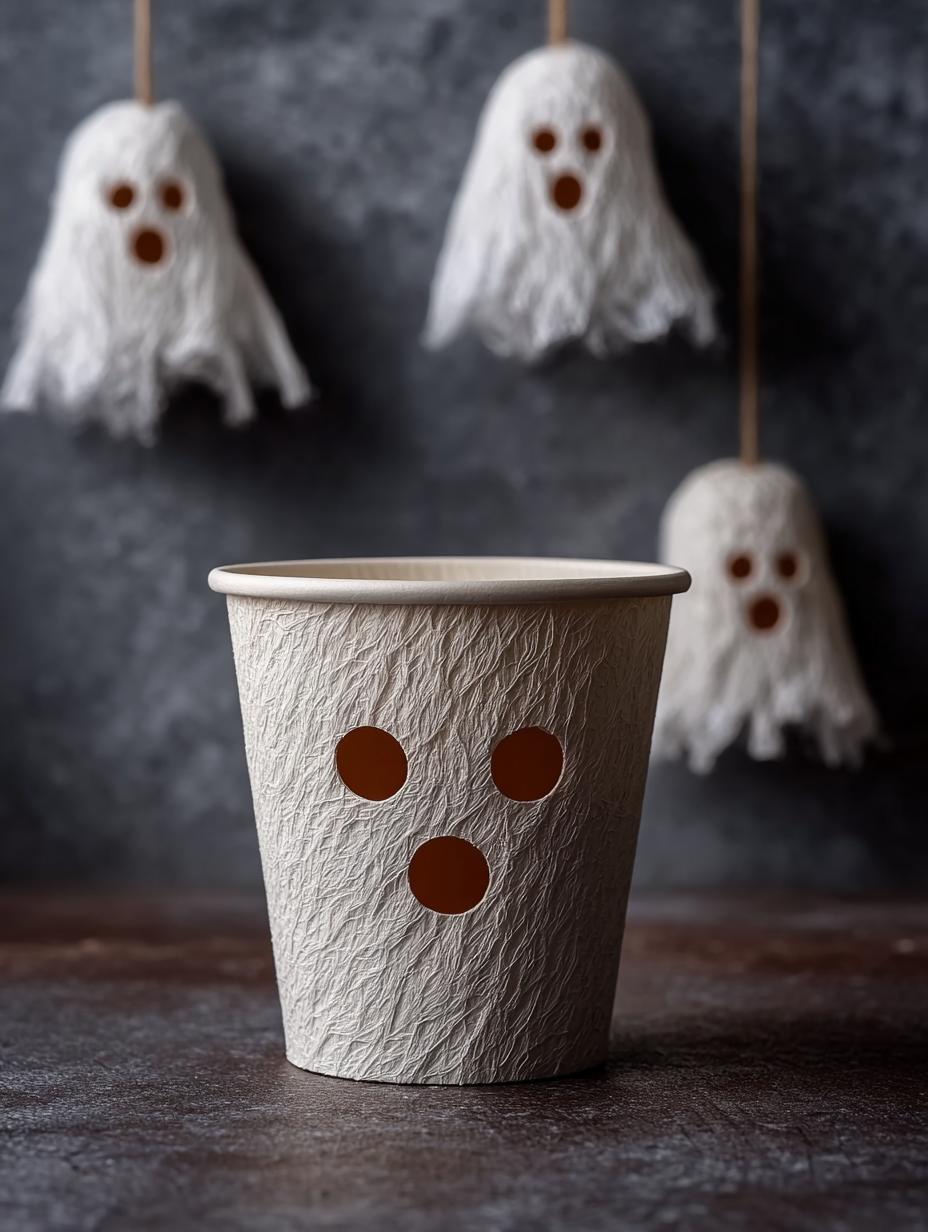
- Step 1: Grab your white paper cups and your black marker. I like to draw a variety of faces – some silly grins, some wide-eyed stares, and maybe even a few with little fangs! Don’t worry about perfection; the charm is in their handmade look.
- Step 2: Now, let’s give our ghosts their ethereal bodies. Take your white tissue paper or crepe paper streamers. Cut them into strips about 1-2 inches wide and 6-8 inches long.
- Step 3: Apply a line of glue around the inside rim of the bottom of the paper cup. Gently press the strips of tissue or crepe paper onto the glue, letting them hang down. Overlap them slightly to create a full, wispy look. The paper will cascade down, giving your ghost its signature flowing form.
- Step 4: Carefully poke a small hole near the top rim of the paper cup. Thread your string or yarn through the hole. Tie a secure knot on the inside of the cup so it won’t pull through. This is how your ghosts will magically float!
- Step 5: Repeat these steps for as many ghosts as you want to create. You’ll find that each one has its own personality. These easy DIY paper cup projects come together so fast!
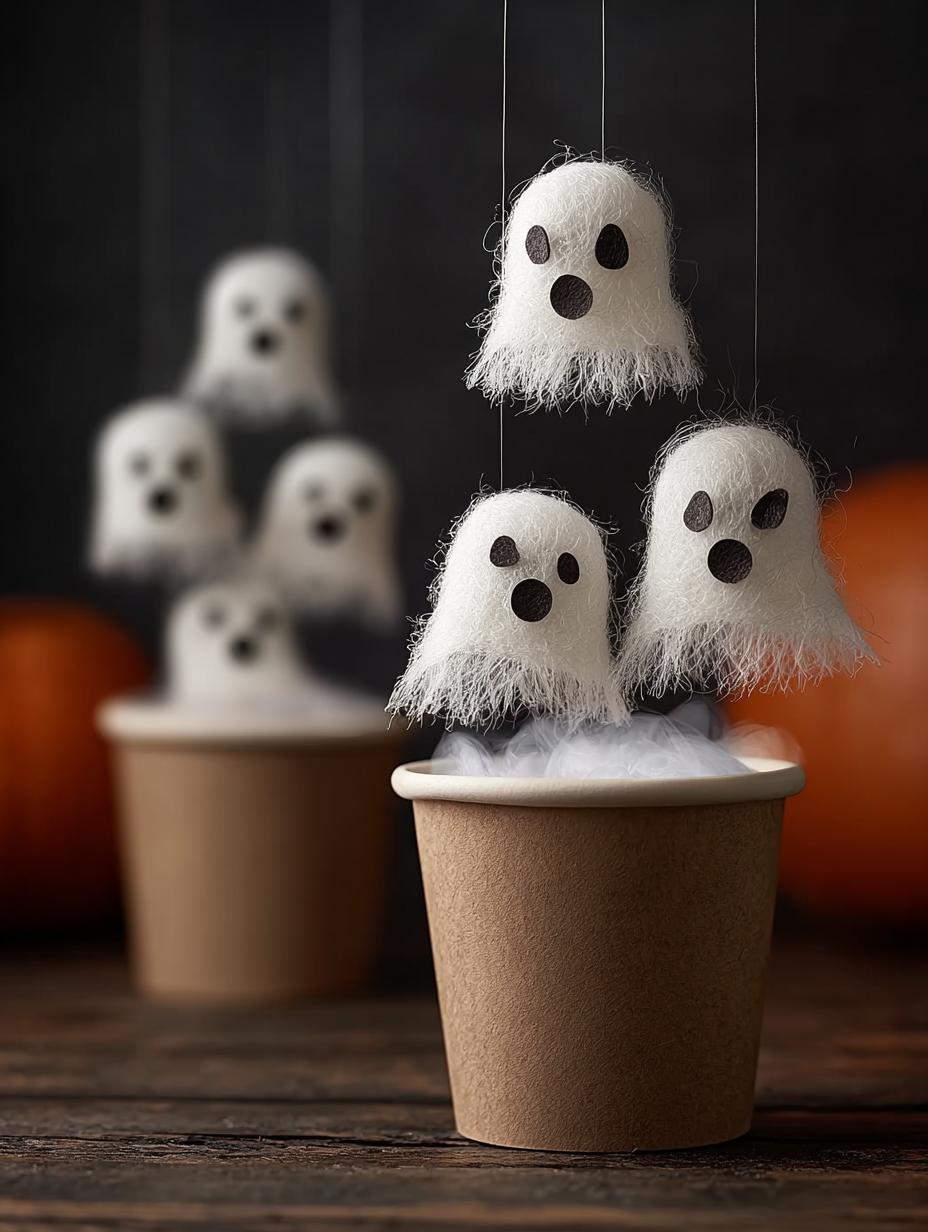
- Step 6: Once all your ghosts are assembled, they are ready to be hung! Find the perfect spot – maybe from your ceiling fan, a curtain rod, or even tree branches outside. The way they sway will add a delightful, spooky atmosphere to your Halloween setup.

Creative Twists for Your DIY Hanging Paper Cup Creations
Ready to take your spooky specters to the next level? Here are a few clever ideas to make your ghost decorations truly stand out this Halloween. These tips will add an extra layer of fun to your DIY paper cup crafts.
- Glow-in-the-Dark Fun: For an extra eerie effect, try using glow-in-the-dark markers or paint for the faces. You can also carefully place a small LED tealight or glow stick inside the cup before attaching the streamers for a haunting glow after dark. For more on Halloween lighting, check out this guide.
- Textured Ghosts: Instead of plain white tissue paper, experiment with different textures. Try using thin lace, cheesecloth, or even strips of white fabric for a more unique and ghostly appearance.
- Add Some Sparkle: A touch of glitter glue on the faces or mixed into the streamers can add a whimsical sparkle that’s perfect for a more playful Halloween theme.
What’s the secret to perfectly spooky DIY hanging paper cups?
The key is a good balance of creepy and cute! Mix up the facial expressions – some serious, some silly. Using slightly unevenly cut streamers also gives a more authentic, floating ghost look for your paper cup ghost hanging craft.
Can I make DIY hanging paper cups ahead of time for Halloween?
Absolutely! These are fantastic make-ahead decorations. You can assemble the entire ghost up to a week in advance and store them gently in a box. Just make sure they’re dry and not squashed before hanging them up for your party. For more party planning tips, see our latest recipes.
How do I avoid common mistakes when crafting DIY hanging paper cups?
A common pitfall is using too much glue, which can make the paper heavy. Also, ensure your hanging string is securely knotted inside the cup so your ghosts don’t take an unexpected dive. Don’t overstuff the cups with streamers; less is often more for that ethereal look.

Best Ways to Display Your DIY Hanging Paper Cup Decorations
Once your adorable ghosts are ready, the real fun begins: deciding where to hang them! These little guys look fantastic in so many places. Try stringing them up along your mantelpiece for a spooky cascade, or hang them from doorways to greet trick-or-treaters. For a truly immersive effect, consider creating a “haunted ceiling” by hanging them from a light fixture or fan. These Halloween paper cup decorations DIY pair perfectly with other festive touches like cobwebs and pumpkins to create a wonderfully eerie atmosphere.
Fun Variations for Your DIY Hanging Paper Cup Crafts
While ghosts are classic, these paper cup creations are super adaptable! Get creative with these fun twists that are perfect for DIY paper cup crafts for kids and adults alike.
- Spooky Spiders: Instead of white streamers, use black ones and draw spider legs and eyes. You could even add pipe cleaner legs around the cup’s rim for extra dimension.
- Witchy Wonders: Use green or purple streamers and draw a witch’s face. You could even glue on a tiny black hat made from construction paper to the top of the cup.
- Batty Buddies: Cut out bat wings from black paper and glue them to the sides of the cup. Use a marker to draw a cute bat face inside.
- Monster Mash: Don’t limit yourself to just ghosts! Mix and match colors and streamer textures to create all sorts of silly monsters with unique eyes and mouths.
Frequently Asked Questions About DIY Hanging Paper Cup Crafts
Got questions about making these fun decorations? I’ve got answers! These crafts are so versatile, and I’ve heard some great questions from fellow crafters. For more information on our site policies, please review our privacy policy and terms of use.
Can I use different types of cups for my DIY hanging paper cups?
You sure can! While white paper cups are great for ghosts, feel free to experiment with colored cups for other characters. Foam cups can also work, but they might be a bit heavier. These simple hanging paper cup ideas are all about flexibility!
What if I don’t have tissue paper or crepe paper?
No worries! You can get creative with other materials. Thin fabric scraps, strips of cellophane, or even shredded paper can work to give your ghosts that wispy look. I’ve even seen people use yarn for a different texture. The goal is to create that flowing effect, and many things can achieve that for your DIY paper cup crafts.
How can I make the faces stand out more on my DIY hanging paper cup ghosts?
For bolder faces, try using small pieces of black construction paper cut into shapes for eyes and mouths, or even googly eyes if you have them! You can also use a permanent marker for crisper lines. Sometimes, a few strategically placed dots or a simple curve can be surprisingly effective and add to the charm of these easy DIY paper cup projects.
Print
Diy Hanging Paper Cup Ghosts: Easy & Fun Craft
- Total Time: 10 minutes
- Yield: Multiple ghosts depending on cups used
- Diet: Vegetarian
Description
Create adorable and spooky hanging ghosts using paper cups for your Halloween decor. This easy DIY project is perfect for kids and adds a festive touch to your home.
Ingredients
- White paper cups
- Black marker or paper for faces
- White tissue paper or crepe streamers
- String or yarn for hanging
- Glue
Instructions
- Draw spooky or funny ghost faces on the cups.
- Cut strips of tissue paper and glue them inside the bottom rim of each cup.
- Poke a hole at the top, thread the string through, and tie a knot.
- Hang your ghosts from ceilings, doorways, or tree branches for floating Halloween fun!
Notes
- For a glowing effect, use a small LED tealight or glow stick inside each cup.
- Use different sizes of cups for variety.
- Have fun with face designs.
- Secure the string tightly.
- Get the kids involved!
- Consider using colored paper cups or Halloween-themed stickers.
- Add ribbons or bows for a cute style.
- Have a craft day with friends.
- Pair your hanging ghosts with festive decor.
- Serve Halloween-themed snacks.
- Set the mood with eerie music.
- Use black tablecloths and scatter faux spider webs.
- Mix in some fall decor.
- Prep Time: 10 minutes
- Cook Time: 0 minutes
- Category: Crafts
- Method: DIY
- Cuisine: N/A
Nutrition
- Serving Size: 1 ghost
- Calories: 0
- Sugar: 0g
- Sodium: 0mg
- Fat: 0g
- Saturated Fat: 0g
- Unsaturated Fat: 0g
- Trans Fat: 0g
- Carbohydrates: 0g
- Fiber: 0g
- Protein: 0g
- Cholesterol: 0mg
Keywords: DIY Hanging Paper Cup, DIY paper cup crafts, Paper cup hanging decorations DIY, How to make hanging paper cups, Easy DIY paper cup projects, Paper cup ghost hanging craft, Halloween paper cup decorations DIY, Hanging ghost made from paper cup, Paper cup hanging ornament tutorial, DIY paper cup crafts for kids, Simple hanging paper cup ideas, Make your own hanging paper cups, Paper cup crafts hanging ghosts, Creative DIY paper cup decorations, How to craft hanging paper cups, What are DIY hanging paper cup ideas, Hanging paper cup ghost tutorial, DIY Halloween crafts paper cup, Paper cup hanging bat craft, Easy DIY hanging decorations paper cup, Paper cup hanging spider craft
